 |
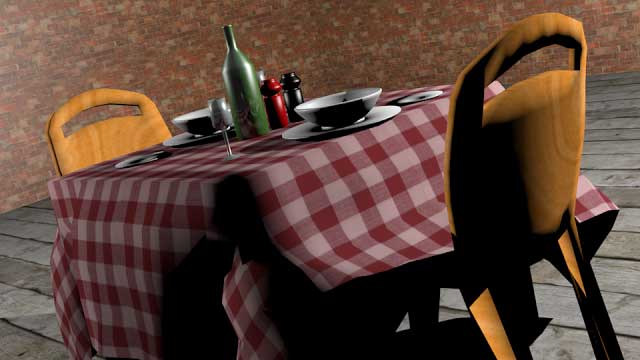
| Sample blender render scene |
What is Rendering ?
Rendering is the final process of CG (short of post processing) and is the phase in which a 2D image corresponding to your 3D scene is finally created. Rendering is a CPU-intensive process. You can render an image on your computer, or use a render farm which is a network of PCs that each work on a different section of the image or on different frames.
Why use it ?
We use rendering in blender in order to make our object more lifelike and realistic. We use it to turn an object into 3D or make a scene more realistic.
How to use Rendering
1. In order to create a finished rendered image you must first create a scene. To do this you press shift + A and then select mesh then plane. Once you have this done press "S" to scale your object to desired width of a standard floor. Do the same procedure for the walls
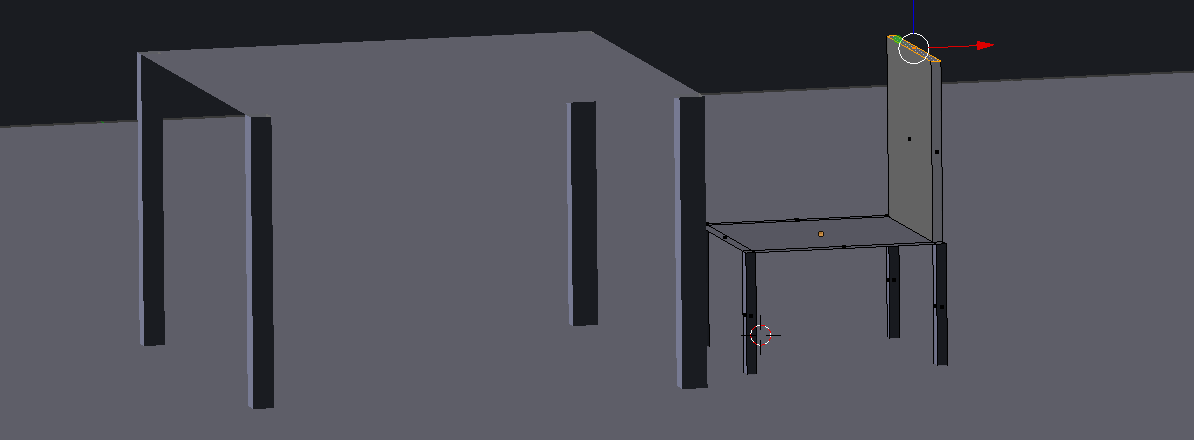
2. Next add in some more standard objects in a room such as a table, chairs. You can model these or download them from
www.blendswap.com
 |
| adding a chair |
 |
| scene with table and chairs |
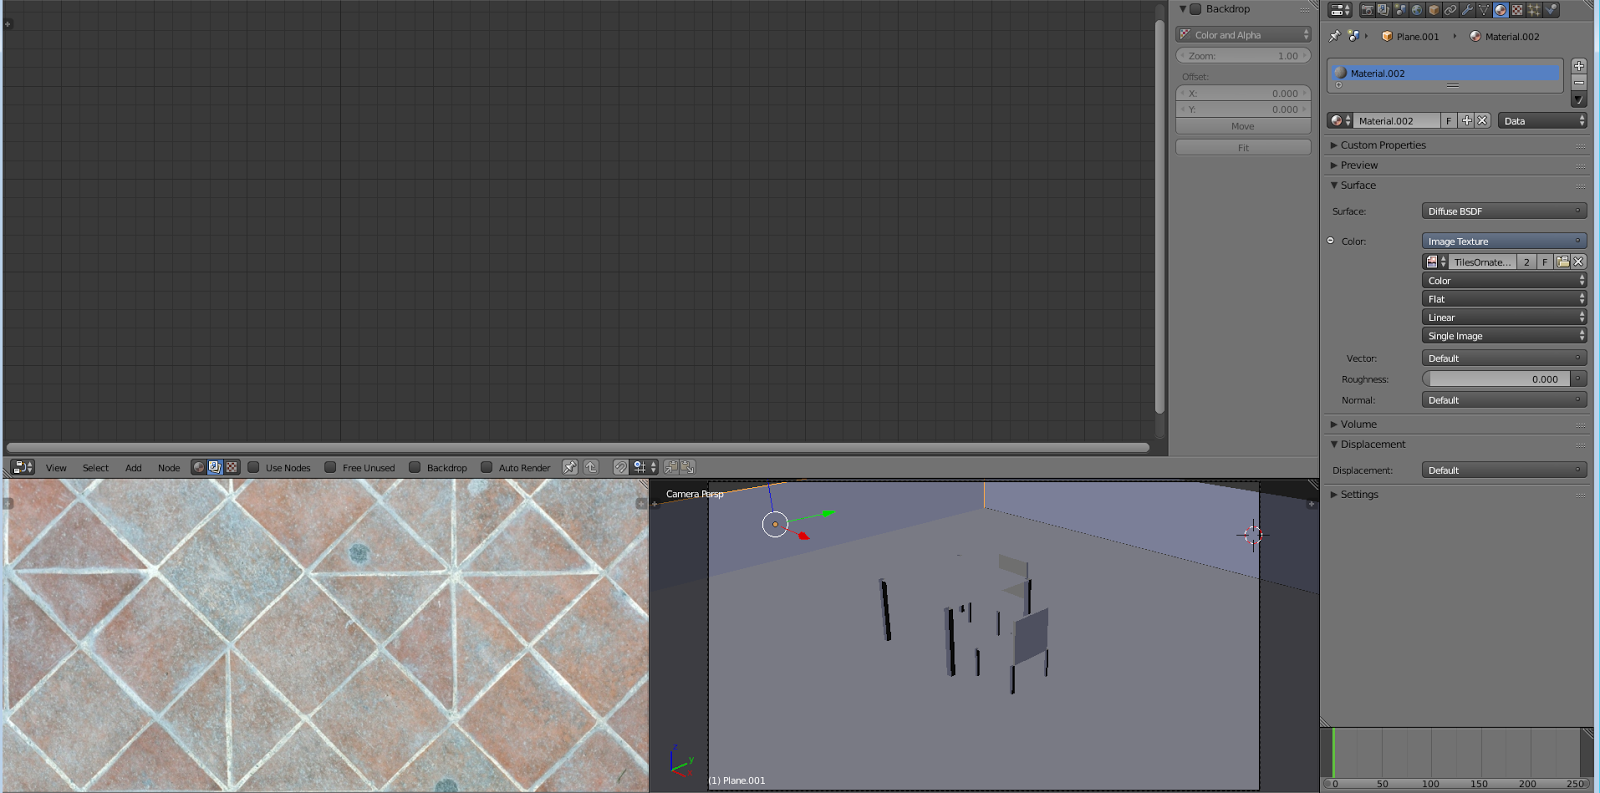
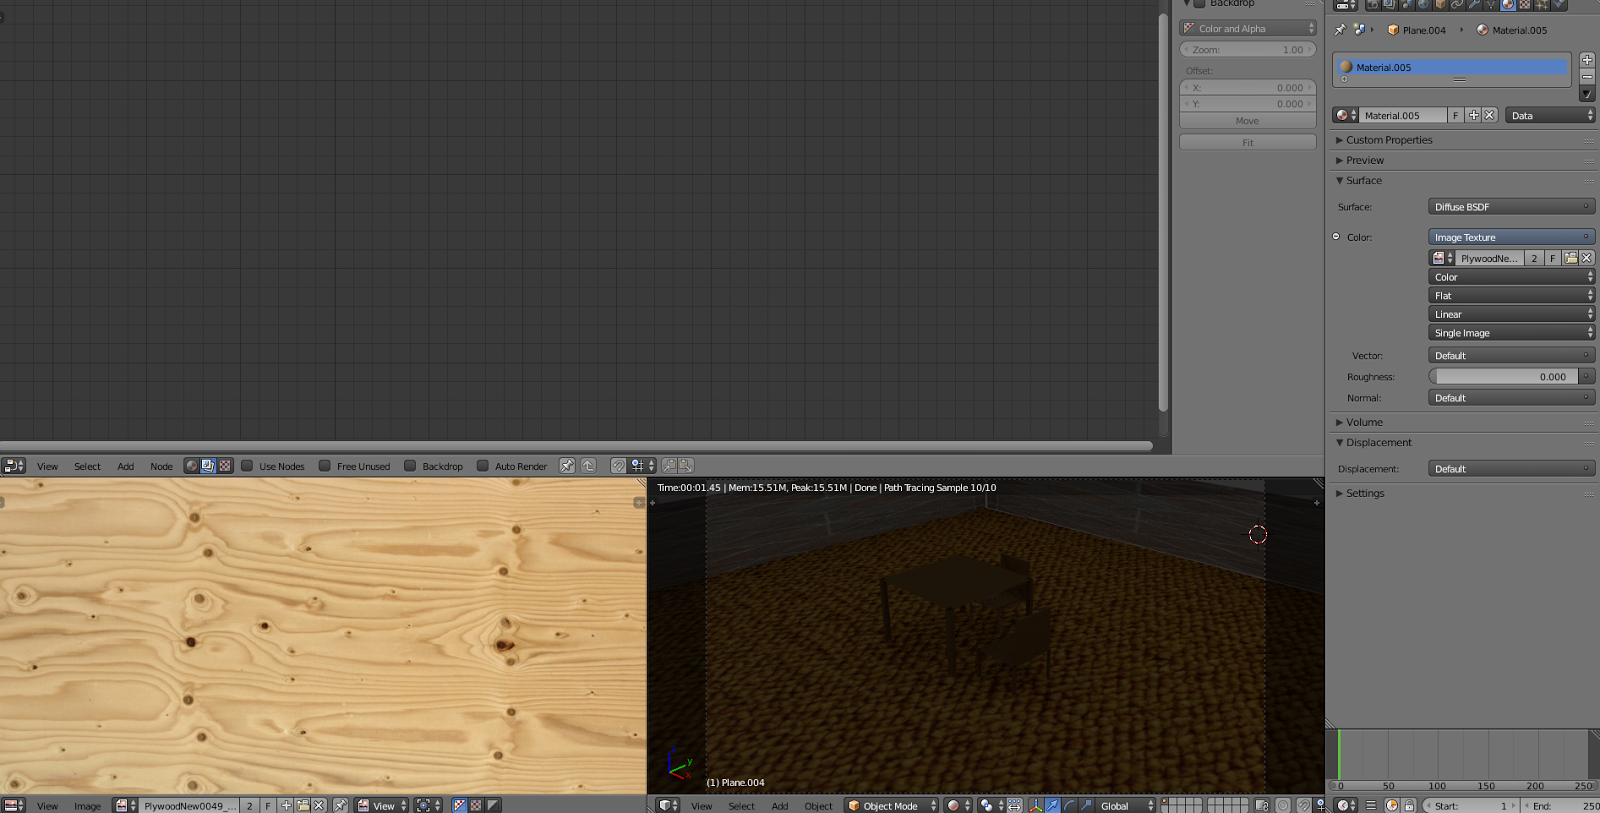
3. Once you have this completed add in some materials and textures to make your scene more realistic. Be sure to check our tutorial on how to
add materials and textures in blender. Once completed press
F11 and your image will render.
 |
| adding a material |
 |
| adding a material to your table and chair |
With added objects and lighting you can achieve renders such as the sample below.
 |
| Sample blender render |


 Reviewed by Opus Web Design
on
March 05, 2015
Rating:
 Reviewed by Opus Web Design
on
March 05, 2015
Rating:


