 |
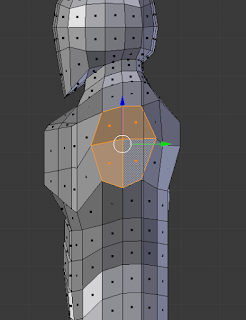
| Selecting faces. |
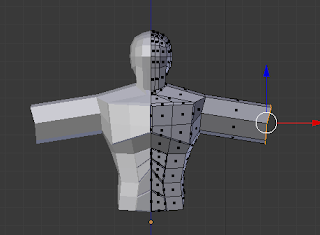 |
| Extruding outwards. |
Using the Face Select tool, select the four faces we shaped earlier on the side of the torso. Switch to Front Orthographic view and use E to extrude them outwards to form the bicep. Don't worry about proportions just yet as we will take time to fix them later.
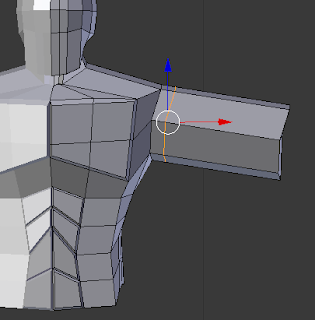 |
| Loop Cut at the shoulder. |
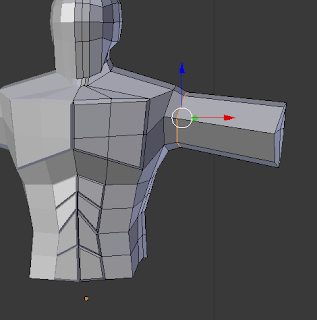 |
| Scaling inwards. |
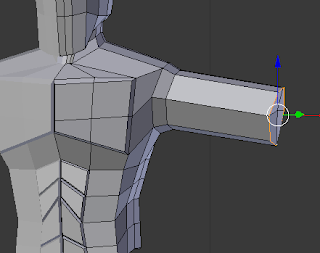
Create another Loop Cut on the upper part of the bicep, close to the shoulder, and slightly scale it inwards.
 |
| Scaling inwards. |
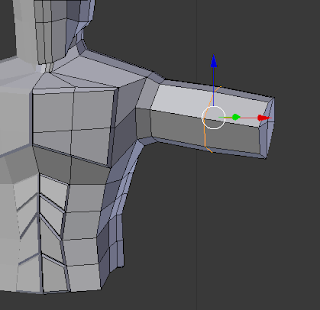
Do the same with the end of the bicep.
 |
| Scaling outwards to add muscle. |
Add another Loop Cut to the very center of the bicep. This is what we can use to control the size of the bicep, making it look more or less muscular.
 |
| Extruding outwards to create elbow. |
 |
| Scaling inwards. |
 |
| Scaling inwards slightly. |
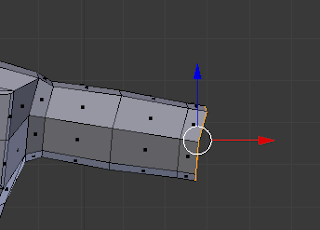
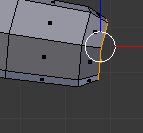
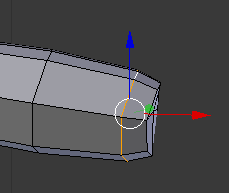
Extrude out from the bottom of the bicep to create the first elbow area. Scale the elbow in slightly and then select the end of the bicep to scale that down slightly to help the transition between the two areas.
 |
| Extruding. |
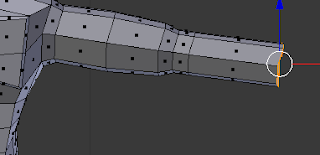
Extrude out from the elbow slightly to create the second part of the elbow, then extrude again out further to create the forearm.
 |
| Rotating on the X axis. |
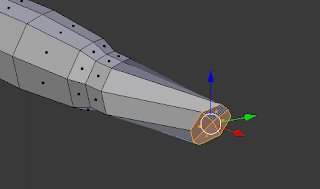
Using Face Select to select the wrist, scale it inwards and then rotate it using the R key on the X axis to create the shape of the forearm.
 |
| Loop Cut |
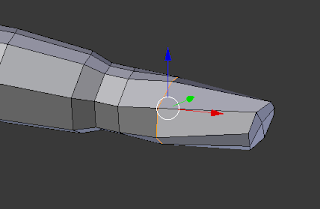
Add another Loop Cut on the upper part of the forearm. This serves the same purpose as the earlier one on the bicep, allowing us to control the size and musculature.
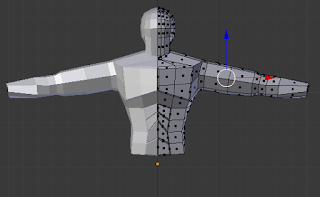 |
| The body so far. |
At this point, before we move on to the next area it is a good idea to zoom out and have a good look at what you've done so far, both to admire your work and to make sure you're satisfied with how everything looks.
The Legs
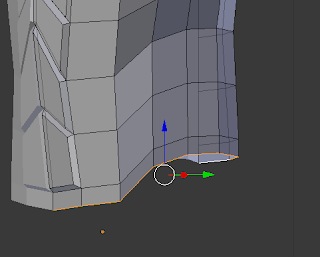 |
| Selecting the bottom rim of the torso. |
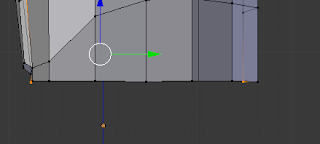 |
| Flattening the edges. |
To begin with, select all the edges along the bottom of the torso. We want to flatten these to help us with the legs. The easiest way to do this is to select them, press S to scale, and before we move the mouse press Z to scale them along the Z axis and press the number 0 to flatten them.
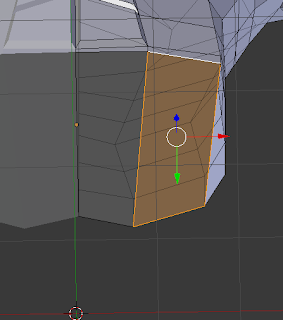 |
| Filling the bottom. |
Next we want to view the torso from below. The bottom of the torso should be empty, with no faces, allowing us to see inside the body. To fix this we will use Edge Select and select the edges two at a time, one at the front and one at the back. Select two, and press F. This should add a flat face stretching from the edge at the front to the edge at the back. Continue doing this until all the space is filled.
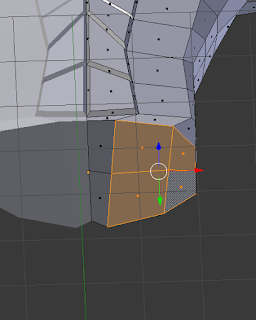 |
| Loop Cut through the bottom. |
Next we want to add another horizontal Loop Cut, as shown in the picture above.
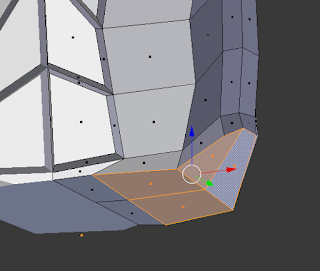 |
| Reshaping. |
Bring some of the edges on the side back up for a more natural shape.
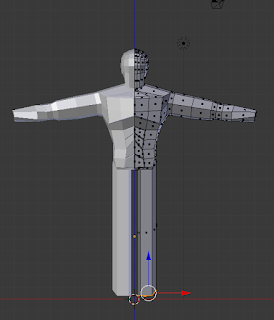 |
| Extruding out the legs. |
With all of the recently created face selected, view from front orthographic view and extrude the legs straight down. The legs end where the shins do and the ankle/feet begin, so measure accordingly.
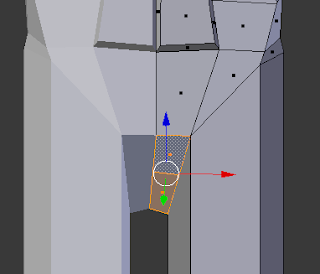 |
| Adjusting the groin. |
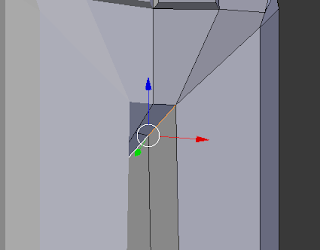 |
| Bringing the thighs together. |
Adjust the groin area slightly, using Edge or Face Select to bring it in and leave less of a gap.
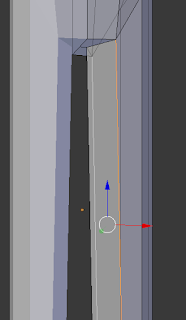 |
| Adjusting the edges. |
Using edge select, adjust the edges running down the sides of the leg to give the leg a more curved appearance.
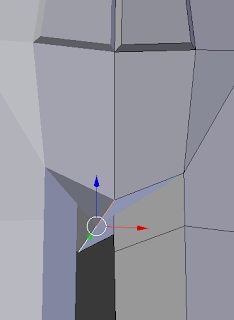 |
| Fixing the groin. |
The groin area is quite flat, so using Edge Select, pull the groin down.
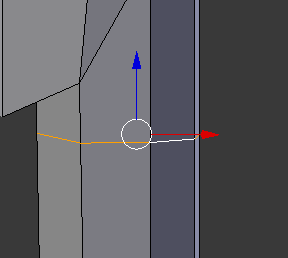 |
| Adding Loop Cut. |
 |
| Scaling out Loop Cut. |
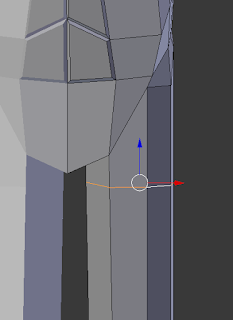
Add a Loop Cut to the upper thigh, close to the groin. This will be used to control the size of the thigh.
 |
| Bringing hips up. |
 |
| Bringing hips out. |
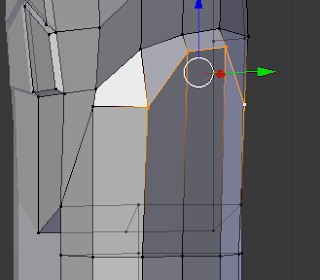
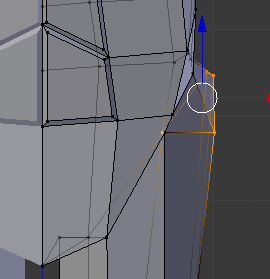
Shape the hips a bit to add some detail and make the transition between torso and leg more natural.
 |
| Bringing butt out. |
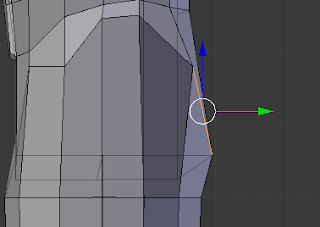
Add a bit of depth to the butt by dragging an edge out from the back of the hips.
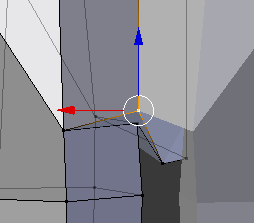 |
| Bringing the vertex upwards. |
Select the vertex at the back end of the groin edge and drag it upwards to begin shaping the butt.
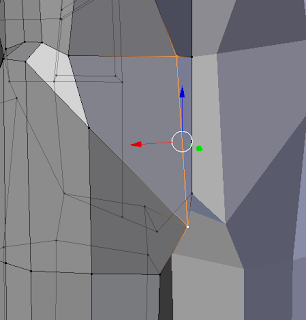 |
| Bringing edge inwards. |
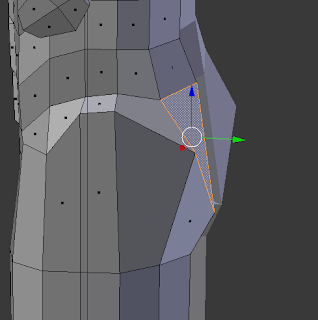 |
| Shaping. |
Using Edge and Vertex Select, define the behind for a more anatomical appearance.
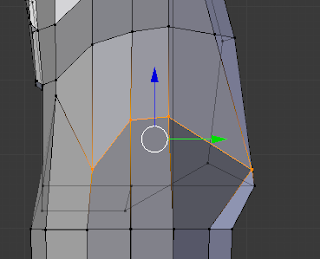 |
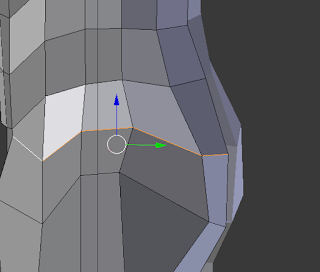
| Selecting hips. |
 |
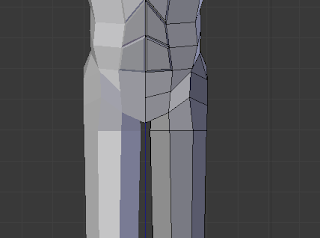
| Bringing hips up. |
 |
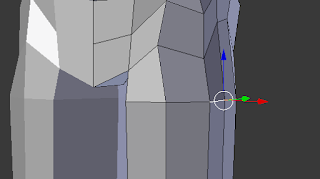
| Assessment. |
Select the edges that make up the hips and drag them up to define the hipbone. Zoom out to admire your work and check if everything is to your liking.
 |
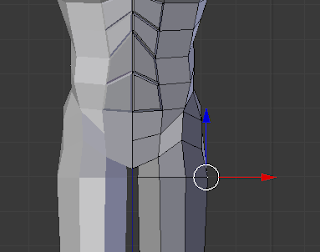
| Selecting Loop Cut. |
 |
| Scaling outwards. |
Now that the hips, groin and butt are done it's time to finish the legs. Select the Loop Cut we placed earlier and scale it outwards to add volume to the legs.
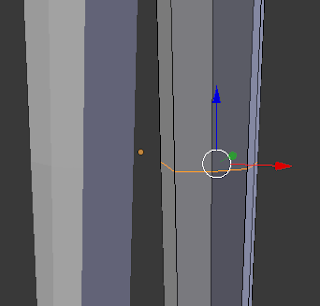 |
| Adding Loop Cut. |
Next we add a Loop Cut for the knee about halfway between the end of the leg and the Loop Cut above.
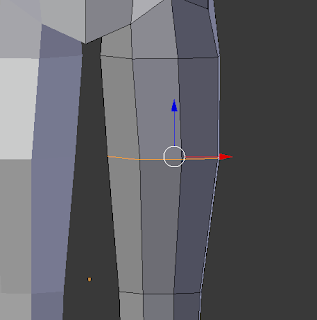 |
| Adding another Loop Cut. |
Add another Loop Cut just above the halfway point between the knee and the thigh Loop Cuts, as shown in the image.
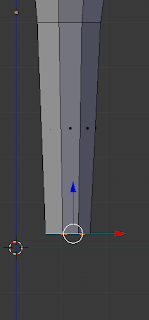 |
| Scaling leg end inwards. |
If you haven't already, scale the end of the leg inwards now in preparation for the foot.
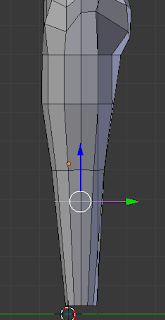 |
| Adding another Loop Cut. |
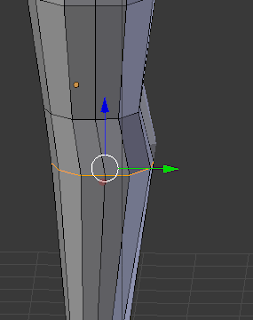
Add another Loop Cut underneath the one we placed for the knee. This will be used to form the calf.
 |
| Adding Loop Cut for calf. |
 |
| Scale knee inwards. |
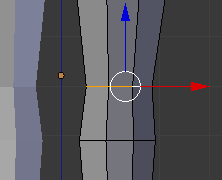
Using Edge select, scale the Loop Cut on the calf outwards slightly, then move it back so that it is in line with the rest of the leg in front, but juts out a bit at the back. After that, select the knee and scale it inwards on the X axis slightly to shape the knee.
 |
| Dragging outwards. |
 |
| Dragging edge inwards and downwards. |
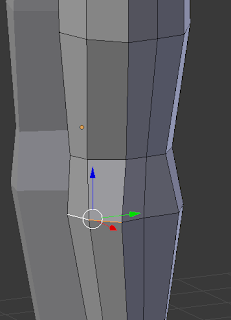
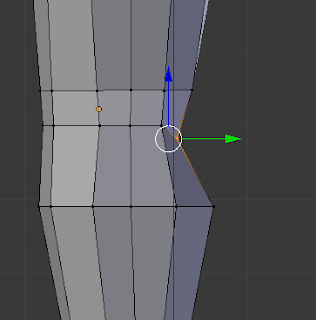
Back to the calf, select the edges on the front and drag them slightly outwards, before adding another Loop Cut below the knee. Select the edge at the back of this new cut and drag it inwards and slightly downwards as shown in the image above.
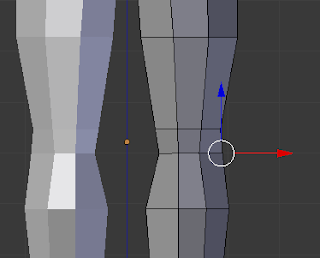 |
| Dragging vertices outwards. |
On the new loop, select the vertices on the outside edges and drag them outwards slightly on the X axis. This will complete the knee.
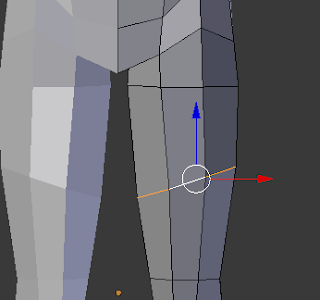 |
| Rotating the thigh. |
Select the Loop Cut placed earlier in the middle of the thigh and rotate it on the Y axis so that it tilts downwards on the inside of the leg and upwards on the outside. Once this is done, the legs are complete.
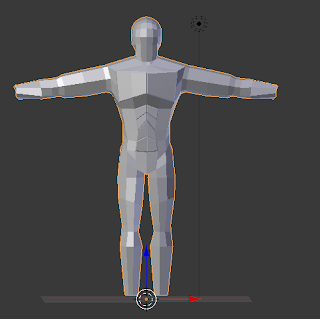 |
| Assessing full body. |
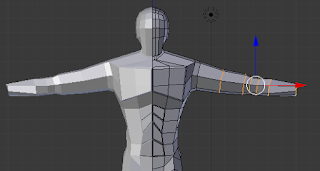 |
| Adjusting arm proportions. |
Before moving on, zoom out and take another look at your now full body, minus hands and feet. If anything seems wrong or off about the proportions, change them before continuing. For my model I felt he was too short so I selected his entire body and scaled slightly on the Z axis, stretching him upwards. After that I noticed that although his arms were the right length, they were far too thick. I fixed this by selecting only the loops running down the arm and scaling them all down on the Z axis until I was happy.


 Reviewed by Tyrone Ward
on
January 31, 2019
Rating:
 Reviewed by Tyrone Ward
on
January 31, 2019
Rating:


